

Installation
You will need a barrel vise, an action wrench, a BugNut wrench and a GO headspace gauge. The headspace check also uses a NO-GO gauge if you have one.
Remove the old barrel and clean the action
Clean the action threads, lug abutments and action face with a brush and solvent if they need it. If you are removing a factory barrel, a wire brush may be needed to clear rust, Loctite or other material from the action threads.
Clean the barrel and the nut, then lube the threads
Clean your pre-fit barrel blank with solvent and air pressure. Make sure there is no debris or packing dust on the threads or in the chamber. Clean the inside of the nut too.
When everything is acceptably clean, lube the barrel tenon threads lightly. We use Loctite C5-A, a copper based lube. Grease, anti-seize or another appropriate high pressure lube will also work.
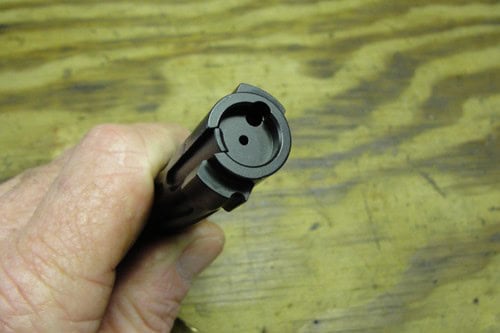
Remove the plunger ejector from the bolt
Recommended if your bolt has one, because it interferes with the feel of the bolt when checking headspace. Most are held by a cross pin and sit under spring pressure.
Take care not to launch the ejector and spring when you pull your punch from the cross pin hole.
Run the nut up to the tenon shoulder
Screw the BugNut all the way up the barrel until it stops on the tenon shoulder.
With a removable recoil lug (Remington, Savage), use a fixture to hold the lug in place so it cannot move or rotate under the torqueing force of the nut.
Set up the vise and gauge
Place the barrel in your vise, gripping near the breech and nut. Do not clamp on the nut. Insert your clean GO gauge into the chamber, insert the bolt into the action and close it. You can leave the trigger in the action, but put the safety on if possible.
Screw the action onto the tenon
It should screw on and stop short of the nut.
Add headspace clearance
Your barrel is now set at minimum SAAMI headspace. A small amount of extra clearance is recommended.
Unscrew the action about the width of two or three scope base holes (about 2 to 3 degrees of rotation), then unscrew the nut towards the action face or recoil lug. Snug the nut against the action with moderate finger pressure only and remove the gauge.
Place a small piece of scotch tape (about .002″ thick) or notebook paper (.003–.004″) on the bolt face or on the base of the GO gauge.
Check headspace
Insert the gauge and close the bolt. You should feel some resistance with whichever spacer you chose.
If you are satisfied and you have a NO-GO gauge, remove all tape or paper and insert the NO-GO now. The bolt should not close on the NO-GO gauge.
If all is good, remove the bolt and gauge.
Assemble the wrenches
Assemble the BugNut wrench over the nut in whichever orientation suits you and makes torqueing easiest. Insert an action wrench in the action.
Torque in opposing motions
Torque the nut against the action without letting the action unscrew. You are not torqueing the action into the nut, only resisting its tendency to unscrew with the nut. Only the nut should move.
- Custom actions, or Remingtons trued by SPR: 70 ft-lb
- Factory actions: 80–100 ft-lb
Re-check and finish
Once you reach torque, re-check headspace with whichever method you used first. If it has changed, rewind and re-headspace.
Install the ejector back into the bolt, patch out the chamber and bore, and you are ready to go shoot.
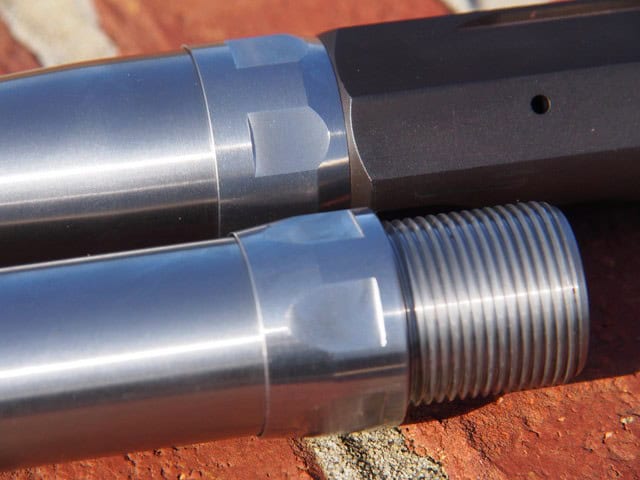
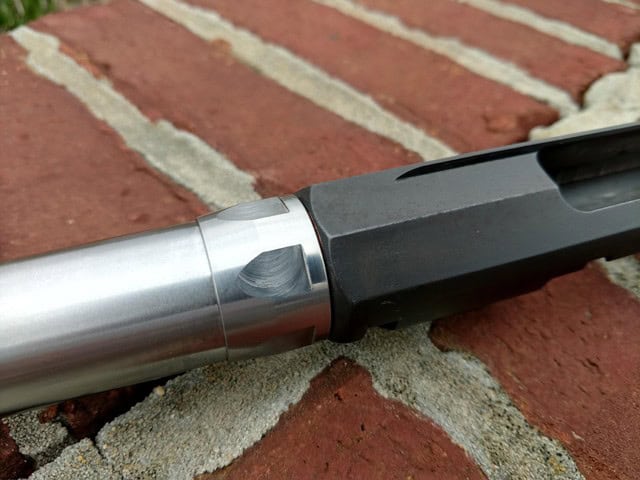
Tikka and Ruger BugNuts
Tikka/Ruger BugNuts are not designed to work with factory barrels. They fit custom barrels cut for them only.
Questions or concerns during the install?
931-252-5656Call the shop before you go further. Phone hours are 8 AM to 5 PM Central.